

Concrete is known to be a durable yet affordable material for construction, but its surface can sometimes become rough and uneven over time. This can be a significant problem, particularly when you want to tile or refinish the surface. Fortunately, sanding can help you remove unsightly blemishes and marks on concrete, giving it a smooth and consistent appearance.
In this blog post, we’ll explore the essential steps of sanding concrete and share tips on how to make your concrete surface look brand new. Before we begin, also remember that sanding concrete requires the use of special equipment and protective gear.

How to Sand Concrete?
Here are the steps to sand concrete:
1. Gear Up
The first step is to prepare the necessary equipment, including safety gear, such as goggles, earplugs, and a dust mask. Also, wear gloves and long sleeves to protect your skin from any possible injury or irritation.
Get your hands on a concrete sander, a grinder, or a polisher, depending on the task at hand. For flat surfaces, a grinder would work great, while a sander would be ideal for curved or uneven surfaces. A polisher is used to achieve a glossy finish.
Also Check: Concrete Estimator
2. Choose the Right Sandpapers
The second step is to choose the type of sandpaper that best suits your project. Usually, contractors use diamond-grit sandpapers since they are the most durable and can tackle tough jobs.
They come in different grades, ranging from coarse to fine, depending on how rough or smooth the surface is. You’ll also need to choose the shape and size of the sandpaper, including belts, discs, and wraps, depending on the type of equipment you are using.
3. Prepare the Surface
Before sanding your concrete, you must ensure that the surface is ready for the task. Remove any debris, dirt, or loose concrete, and sweep the surface clean. If there are any stains or discoloration, use a pressure washer or a chemical cleaner to get rid of them. Let the surface dry completely before proceeding with the next step.
Read Also: Does Concrete Expand
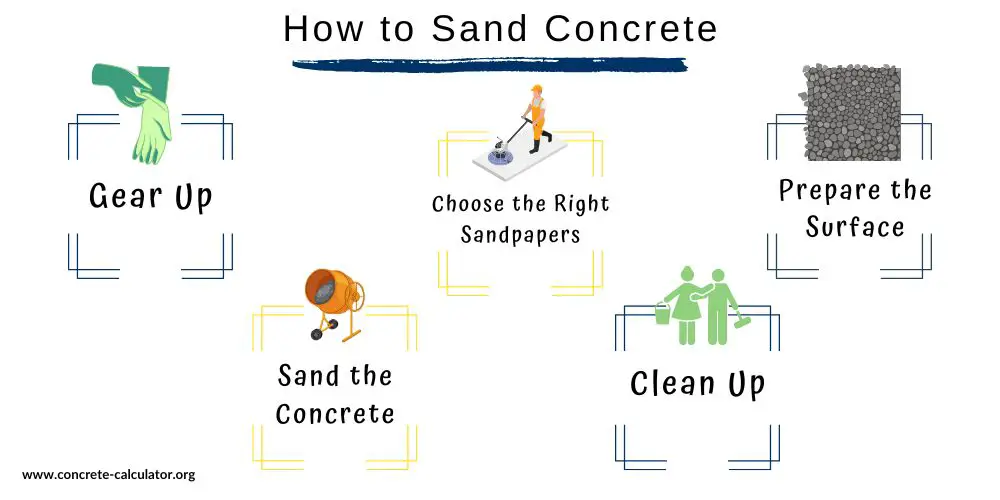
4. Sand the Concrete
Now, you are ready to start sanding the concrete. Start by using the coarsest sandpaper, and sand in a circular motion, making sure to evenly cover the entire surface. If you’re using a grinder, walk in a straight line, back, and forth across the surface.
Keep the machine moving at all times to ensure even sanding. Gradually work your way to finer grit sandpapers, moving in a back-and-forth motion to achieve a smooth surface. You can also use a wet sanding method to reduce dust, but make sure not to saturate the concrete.
5. Clean Up
Once you have achieved the desired level of smoothness, the last step is to clean up the debris and dust created during the sanding process. Collect the dust using a vacuum cleaner or a broom, and dispose of it safely. Remember to wipe the surface clean using a damp cloth or mop to remove any remaining dust or debris.
Also Read: Can Concrete Get Mold
FAQ’s
How often should I sand my concrete?
The frequency of sanding depends on the usage and wear of the surface. Generally, it is recommended to sand your concrete every two years. If you notice any signs of wear, such as scratches or discoloration, consider sanding more frequently.
Can concrete be sanded?
Yes, concrete can be sanded using an electric sander or a grinder. However, it is important to use the right sandpaper grit and technique to achieve a smooth finish. Take caution when sanding concrete as it can cause damage if done incorrectly.
Does sanding concrete create dust?
Yes, sanding concrete does create dust. To minimize the amount of dust created, use a wet sanding method or work in a well-ventilated area. Remember to clean up the debris and dust after sanding to avoid any potential hazards.